Updating block and exclusion lists
Last updated December 24, 2025
With OutboundSync, you can have any HubSpot list function as a blocklist or exclusion list, depending on which sales engagement platform you're using. You also know of these as Do Not Contact (DNC), opt out, or suppression lists.
These lists ensure that cold outreach is not sent to existing customers, competitors, open deals, or contacts on Do Not Contact lists.
Creating your list in HubSpot
Using lists in HubSpot means you can manage everything in one place, and push the right email addresses, email domains, and social profiles to the edge to prevent outreach.
If contacts have multiple emails in HubSpot, OutboundSync will block all associated emails in their contact record by default.
If you don’t have a blocklist built yet, let's create one now. Otherwise, skip ahead.
Need inspiration? Popular examples include lists for newsletter subscribers, open deals, and active customers.
Build a new list in HubSpot by going to Contacts > Lists.
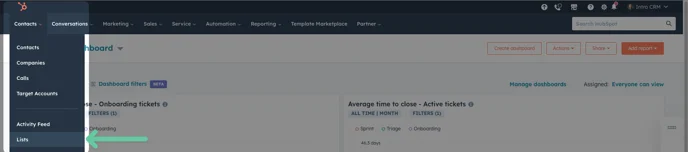
Once there, click the Create List button to start creating a list.

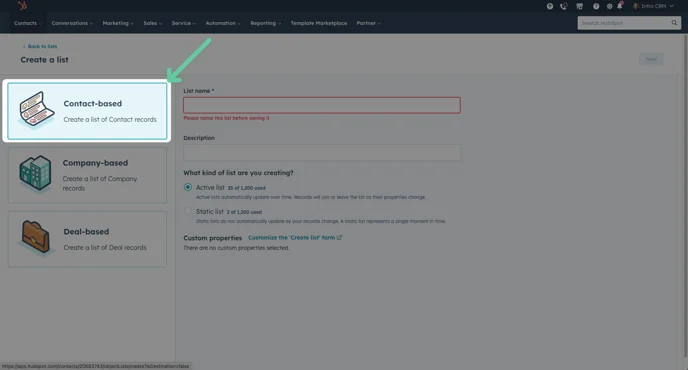
For this you can either create a list that is Contact-based or Company Based.
After creating a list with the desired criteria to add contacts or companies to an exclusion list, you can use it in OutboundSync for blocking.
Pulling your block list into OutboundSync
Now that you have created your list in your CRM, we need to pull that list into OutboundSync to start dynamically updating it in your Sales Engagement Platform. For this, we'll need to return to OutboundSync.
Remember that the user performing these actions needs to have sufficient permissions. If the user cannot access this data in the CRM, their credential cannot be used by OutboundSync to perform this action.
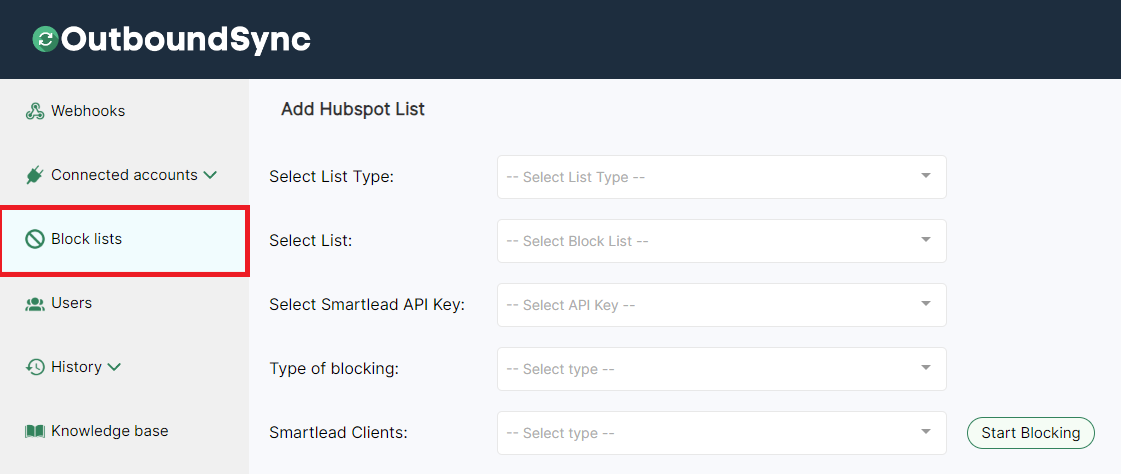
Navigate to OutboundSync block lists
Now, go to the OutboundSync app and go to the Block lists tab on the left.
Select your list
Search for the block list that you created. It can be either a contact list or company list in HubSpot.
Select Sales Engagement Platform API Key
Select the API key for the Sales Engagement Platform that you want to send to the block list. If you want to block this list on multiple platforms, create multiple lists.
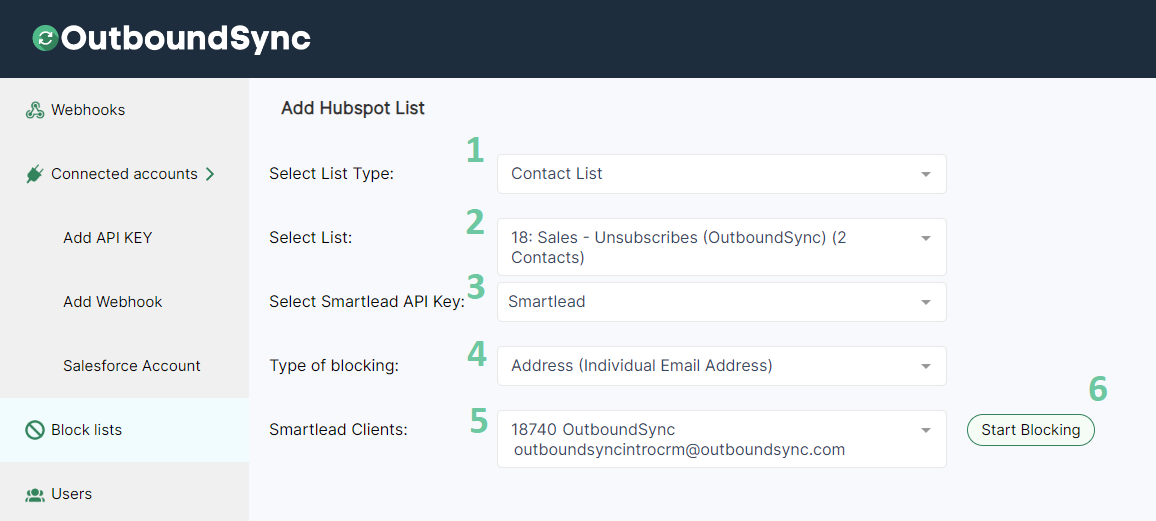
Select the type of blocking
OutboundSync supports two types of blocking. You can block by address or by domain with the Type of Blocking.
Address (individual email address or social profile)
Blocks each email associated with a contact in HubSpot individually and adds it to the blocklist in your Sales Engagement Platform.
Example: Blocking john@example.com doesn’t block all emails ending in @example; only John's email is blocked.
HeyReach only supports individual social profiles on their exclusion lists. To understand more about how exclusion lists work in HeyReach, read How to add an Exclude List to my Campaign? and How to Exclude (leads) from list?
Domain (every email address)
Blocks all emails associated with a contact’s domain and adds the domain to the blocklist in Smartlead.
If a contact had multiple email addresses, every domain would be blocked.
Exception: Leading email providers (e.g., Gmail, Outlook) won’t be blocked as they are common. View unblockable domains list here.
If you want to block these domains manually in your Sales Engagement Platform, download this CSV and import it directly. This would block you from emailing personal email addresses.
Select clients (Optional)
If you are using a Sales Engagement Platform that has specific client IDs like Smartlead, this is the step where you will select that Client ID to match the blocklist to that client. Others use dedicated workspaces where this will not be relevant.
Start blocking
Next, click Start Blocking (6). You will see your blocklist appear in the table.
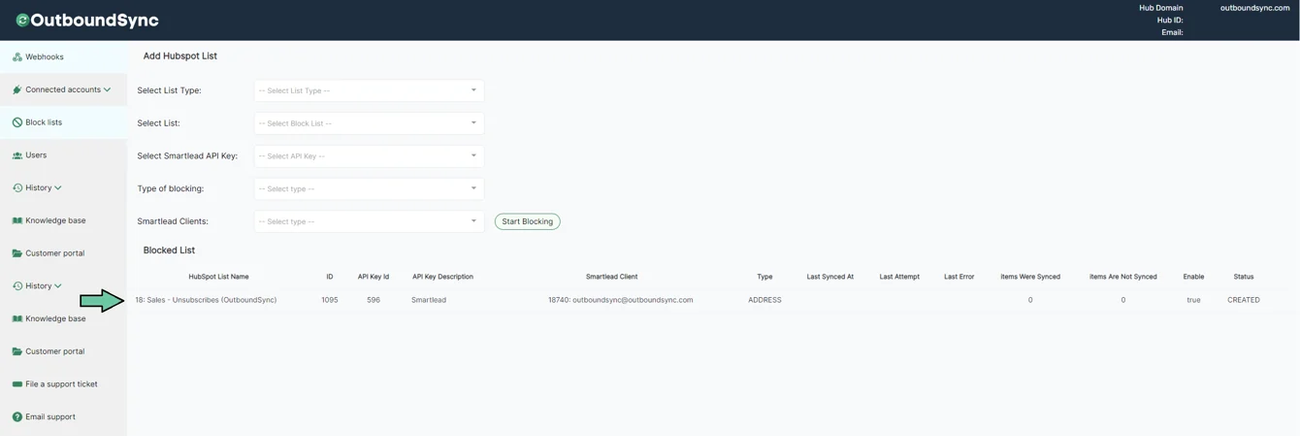
This takes time to execute. The larger your list, the more time it can take. Refresh your browser or come back later to see OutboundSync's progress updating your blocklist.