How to create reports using lists
Last updated July 8, 2025
Before getting started, make sure you have created at least one list in HubSpot with OutboundSync as a required filter. ( See how here .)
Once you have created your list, navigate to it.
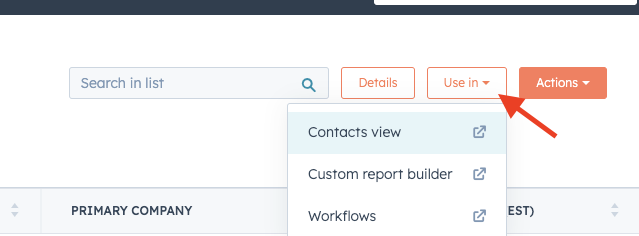
Then open your list and click on the Use-in button, and Custom report builder.
A new tab will open where you can create a report based on the filters you initially used when creating the list.
Let's generate a report that focuses on the emails sent through Outbound Sync and includes the date each email was sent.
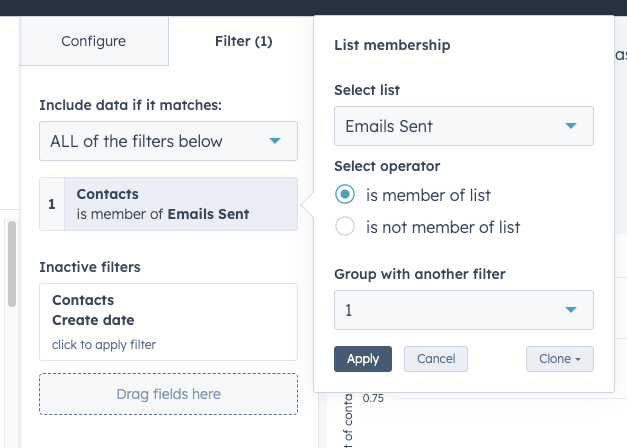
Navigate to the "Filter" section of your report and click on the list. Ensure that you choose to display data in this report for contacts who are part of the list you created.
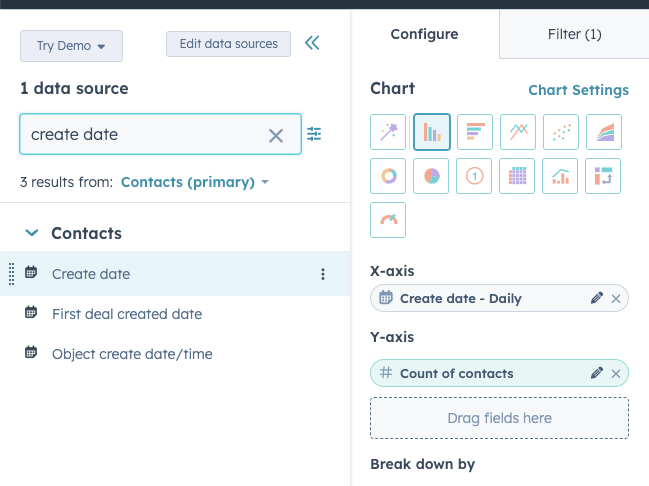
Navigate back to the Configure tab.
On the X-axis, you can add a create date filter by dragging and dropping it from the left sidebar. This filter allows you to specify the date range for the emails sent through Outbound Sync.
In the y-axis, you can add a filter for the number of contacts by dragging and dropping the "Count of contacts" filter from the left sidebar. This filter allows you to see the total number of contacts associated with the emails sent through Outbound Sync.
Apply the same X-axis and Y-axis filters to analyze your list of contacts who have replied to Outbound Sync emails.
Wait for a moment while the report refreshes, and then you can find the graph displaying the quantity of emails sent through Outbound Sync and the corresponding dates they were sent.
