Connect your Smartlead API key
Last updated July 3, 2025
Here are step-by-step instructions on how to connect Smartlead to OutboundSync via API key. This is necessary to do things like creating blocklists or apply category-based filters.
Step 1. Generate an API key in Smartlead
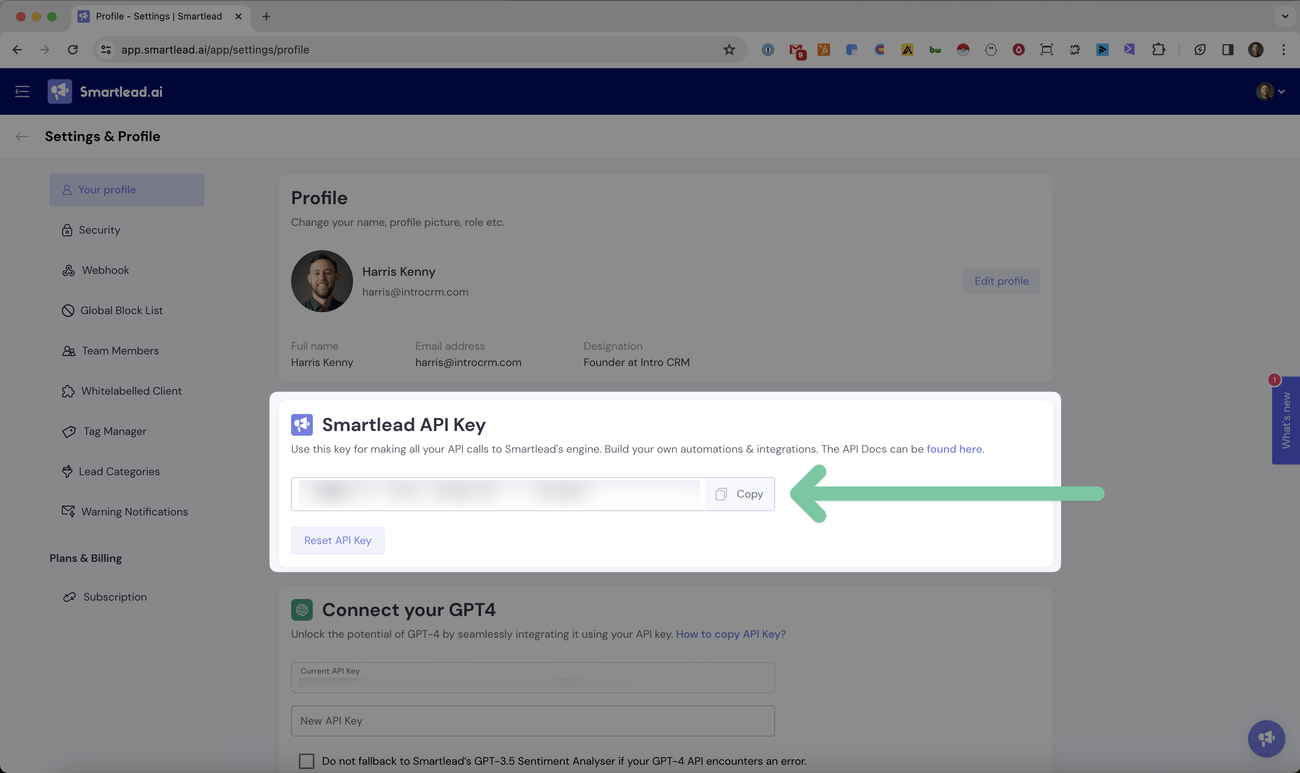
First, log in to Smartlead and go to your Smartlead account profile .
If you do not already have a Smartlead API key, then generate a new one and copy it.
Step 2. Add your API key in OutboundSync.
Next, login to OutboundSync and click the Connected Accounts in the left menu.
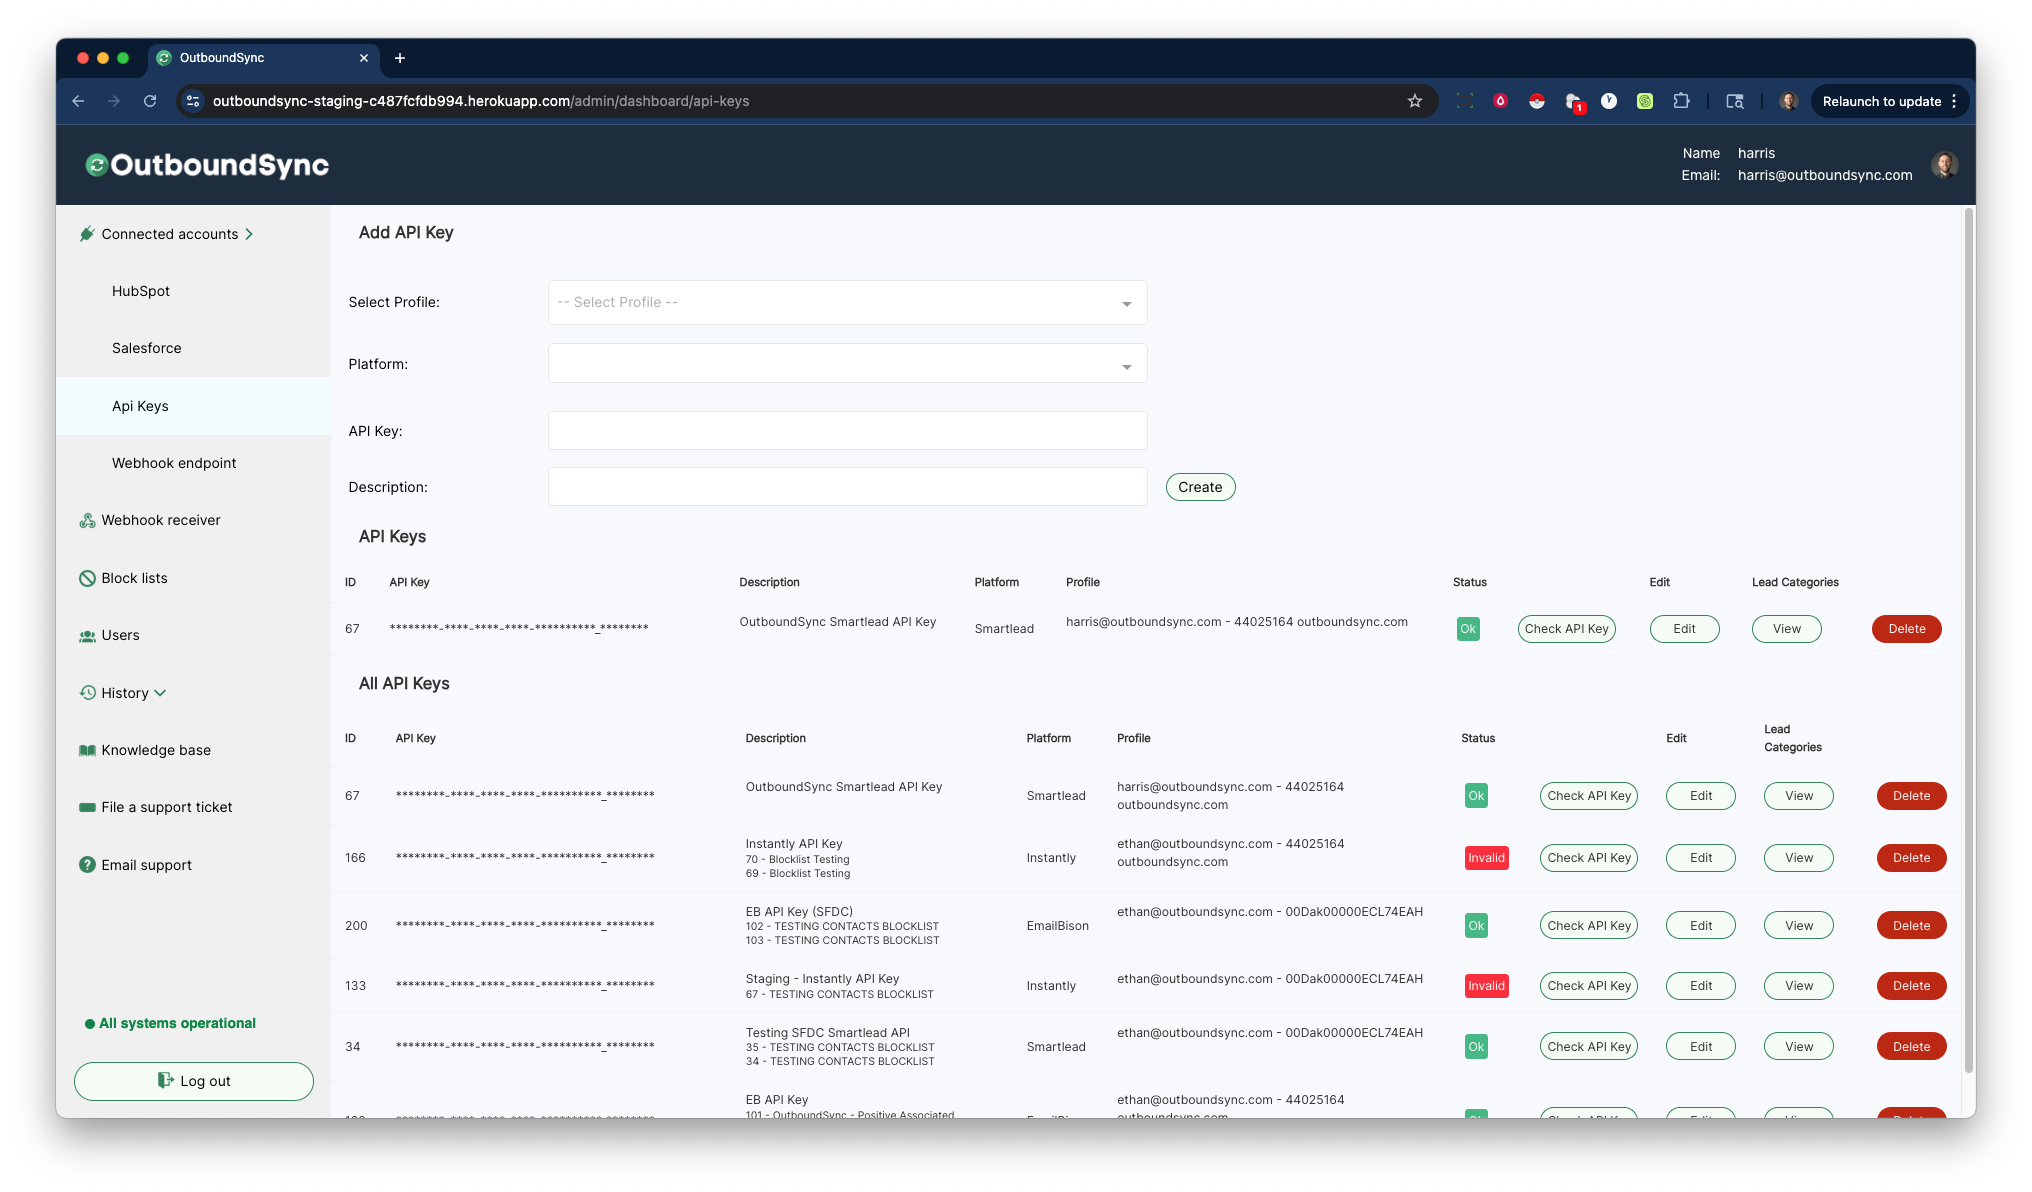
- Navigate to the API Keys section.
- Select which Profile (CRM account) you want to use.
- Select Smartlead under the Platform dropdown.
- Enter/paste your API Key.
- Enter a Description.
- Click the Create button.
OutboundSync will check your API key before saving it. If your API key fails, it will not be saved in OutboundSync.
Step 3. Maintaining your API connection
You can always come back to OutboundSync and click the Check API Key button to verify that your API Key is still valid and active.
In this page, you can also check your Lead Categories or Statuses. You can learn more about what this means here .